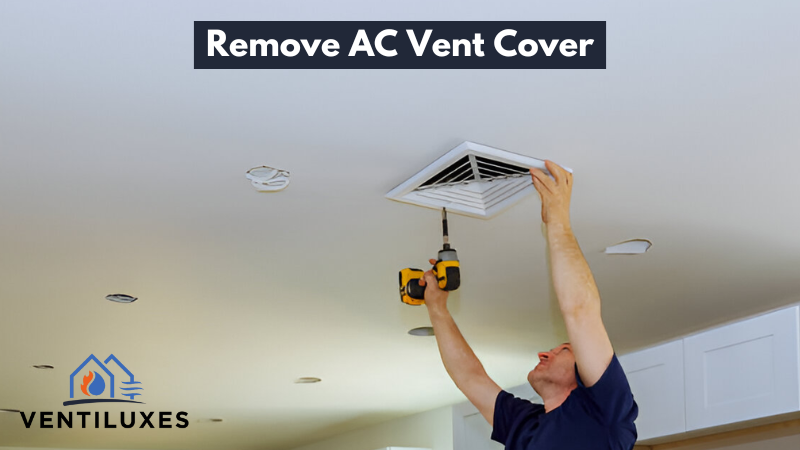
You may have decided to remove and upgrade your AC vent covers for many reasons. It can be that the old ones are broken, or you want to enhance the athletics of your room as you did the renovation of your home. Besides this reason, if you do not know how to remove the AC vent covers, it’s time to learn this quickly in this blog post. The process is simple, but only if you follow it thoroughly.
How Do You Remove the Old Covers Yourself in 7 Steps?
Follow these steps to go further:
Step 1: Gather the Tools
Before starting, gather all the necessary tools, such as a flat-head screwdriver or a putty knife for prying and or a standard screwdriver for screws. Ensure you have a clean workspace to keep any removed screws and covers safe. I prefer to lay it on a soft cloth on the floor to prevent scratches or damage when dealing with the ceiling and wall vents.
Step 2: Removing Floor Vent Covers
Vent covers on the floor should be checked to see if they slide out or are stuck. If stuck, gently pry them up, not damaging the surrounding area. They may require more force if they’re dirty or have warped filters.
Tip: You can use a vacuum cleaner to suck the dust from the corners and sliders. After that, you can slide the cover gently.
Step 3: For Wall & Ceiling Vent Covers
The process is similar to the floor vents. You have to remove the screws that hold them in place. These might be tightly fitted, so use the correct size screwdriver to avoid stripping the screws. If the covers are painted over, score around the edge with a utility knife to free them without pulling off paint or plaster.
Step 4: Check and Clean
Once the covers are removed, it’s a good time to check the interior for obstructions or buildup. Clear the area and wash the vent covers so they can be reused next time.
Step 5: Inspect Unexpected Issues
As the covers are off, take a moment to inspect deeper issues such as electrical outlets and overall system health. When we checked these on our clients’ ACs, we found something. In my own home, during one such inspection, I discovered a tree root through the sewer line, a critical find that was off the beaten path of a simple vent cover replacement.
Step 6: Replacing or Reinstalling Vent Covers
If replacing, ensure the new vent covers snug-fit well in the existing space. If reinstalling, then they should be clean and align them correctly before screwing them back into place. Tighten the screws gently, and don’t over-tight them.
Step 7: Final Checks
Do a final check to keep all covers in place and operate the system. Clean up your workspace and put all tools back in their place.
3 Major Types of a Vent Cover – Choose the One For You
These are some of the common cover types:
1. Simple Vent Grill
First, these are basic, no-frills vent covers typically used for functionality rather than aesthetics. They are metal or plastic and allow straightforward air passage without any adjustments.
2. Adjustable Vent Covers
Secondly, adjustable vent covers allow you to control the airflow. You can increase or decrease the air pressure as needed. These covers are ideal for rooms where different airflow levels are needed at different times.
3. Decorative Vent Covers
Decorative vent covers combine functionality with style. They feature designs, patterns, or finishes that enhance room décor. They are available in various materials, such as wood, metal, and custom finishes, to match any interior design.
How to Replace the New Vent Covers?
Want to replace the new cover? Here’s how:
Measuring the Opening
Once you remove the old cover, the next step is to measure the length and width of the opening where the vent cover was installed. This will ensure that the new covers are the perfect size and don’t leave gaps that affect airflow.
Tip: Even if you don’t measure the dimensions, you can visit the hardware store with the old cover. They’ll provide you with a perfect match. But you need the size if you’re buying it online.
Choosing a New Cover
As mentioned above, you can choose the design you want. Those who wish to have an indoor colour theme can paint the covers to match the walls. But be careful, as the paint doesn’t block the screw holes or openings. Additionally, if you desire control over airflow, we recommend an inner damper with a metal handle on the side to open and close.
Install New Covers
Finally, you can install the new return vent covers. For floor vents, it generally involves simply sliding the cover into place. If the cover doesn’t fit tightly, it may need to be screwed down to prevent it from becoming a tripping hazard.
Yet, you need a bit more precision for the ceiling and wall vents. The new cover should be secured in place using screws and plastic wall anchors for top stability. Keep it more concise since the screw holes from the old cover may have widened. Before tightening the screws in plastic anchors, make sure the wall doesn’t rust and then secure it fully.
Unable to Handle? – Contact Ventiluxes
Although this task is very engaging and fun, if you want to perform it andecious time, we’re available to do this for you. Simply contact us. We’d love to arrive at your doorstep and finish the whole project within the next couple of hours.


Leave a Reply