In the home maintenance list, a few tasks are as vital yet commonly overlooked as cleaning your dryer vent. Whether your laundry vent exits through the wall or extends up to the roof, keeping this pathway clear is not just a matter of efficiency and performance; it’s a crucial safety step.
Sadly, many homeowners neglect this, exposing their homes to fire hazards and damage from clogged vents filled with flammable lint.
What is Lint Buildup?
Lint buildup refers to the gradual accumulation of fibers and particles that detach from clothing and other fabrics during the drying process in your dryer. These fibers, typically composed of materials like cotton and polyester, collect in the dryer’s lint trap and can extend into the vent duct if not cleaned regularly.
Cleaning the dryer vent on your roof can seem challenging and time-consuming, but it is an essential maintenance step that protects your house from potential disasters.
Ignored, a neglected vent could dramatically increase your electric bills or burn down your home. The U.S. Fire Administration advises clearing out lint from these vents at least three times a year to prevent catastrophic fires. So, don’t let what might seem like a minor part of your to-do list lead to significant problems.
Why Should One Clean the Dryer Vent on a Roof? | Importance of Keeping It Clean
Many believe clearing the lint trap after each load is sufficient, but this is far from the truth. When lint and other debris from your garments accumulate in the exhaust vent—which in many homes extends to the roof—it can clog the duct. This poses a severe fire hazard as lint is highly flammable and increases the risk of carbon monoxide gas building up inside your home.
This colorless, odorless, and deadly gas can be released into your living spaces if the vent is not functioning safely.
The problems don’t stop there. A clogged vent can create an opening at the duct exit where the hood flap may not close properly. This gap invites rodents and birds to infiltrate your home, using the accumulated lint as nesting material.
As these unwanted critters venture further, their excrement and gnawing habits can cause unsanitary conditions and significant property damage.
So, what’s the solution for it?
Cleaning your dryer vent regularly.
How to Clean the Dryer Vent on a Roof? – Steps to Follow
For those unsure or uncomfortable with tackling the task independently, it is recommended to call a professional. They can ensure the venting is evident, no matter which type of dryer vent cover is used, you can follow these steps with confidence.
Step # 1: Disconnect and Prepare
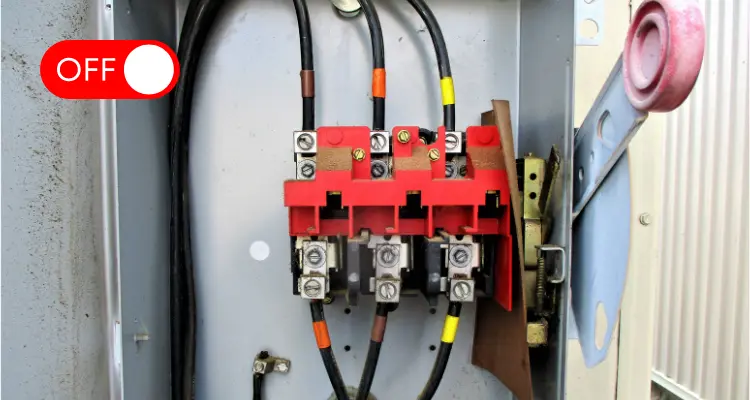
First, disconnect your dryer from its power source. For electric dryers, unplug the cord from the outlet. If it’s a gas-powered dryer, shut off the gas supply.
Step # 2: Access the Vent

Next, move the dryer to reach the vent. You may need to unscrew and remove the cover to reveal the duct’s interior. Use a soft cloth to remove dirt and lint from the edges and interior.
Since you have to go twice to vent outside to open the cover. Most of the work will be done from the inside.
Step # 3: Clean the Flex Vent
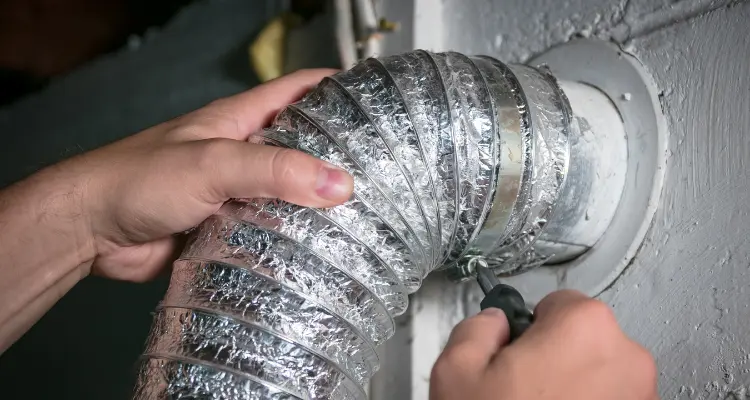
Pull back the dryer to access the flex vent—the short vent hose that connects the dryer to the wall. Loosen any metal clamps or aluminum foil tape, then inspect the hose for any flammable lint, holes, or other issues impeding airflow.
Step # 4: Clean the Vent Path
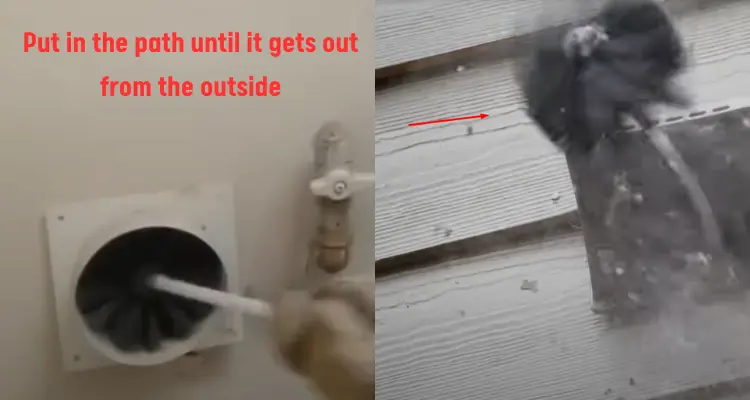
Start cleaning the duct using a dryer vent cleaning tool—a long, flexible device with a nylon brush attachment. Insert the tool into the vent, securely connecting the plastic rods and brushing the sides to clear out all the debris. Work your way up the vent to ensure no lint or dirt is left accumulated.
Repeat this process as necessary to clean the vent path thoroughly. Or for more ease put the vacuum pipe in it and suck all the lint.
Step # 5: Verify and Seal the Roof Vent
After cleaning the vent path thoroughly, proceed to the roof to locate the vent opening. It’s essential to clear any debris, such as leaves or sticks, from around the vent cover to ensure nothing is blocking the airflow. Check that the flapper—the cover over the vent—moves freely and is not stuck. Reattach the vent cover and seal it with caulking to prevent moisture from seeping inside.
Step # 6: Use Additional Tools for Complete Clearance
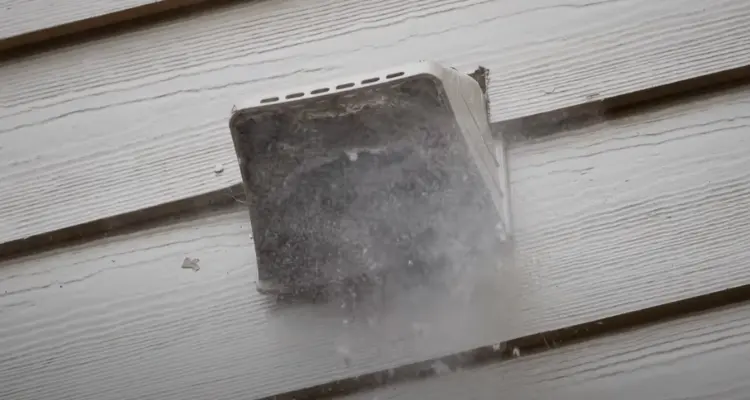
Optionally, use a leaf blower to remove residual lint from the vent. This helps ensure that all debris is removed, especially in the upper portion of the vent that might be hard to reach. Also, maintain a clear airflow path and reduce the risk of clogs in the future.
Step # 7: Safety Measures and Professional Help
Always adhere to safety precautions when working on the roof. Wear slip-resistant shoes and use a safety harness. Suppose you are uncomfortable with the height or the complexity of the task.
In that case, hiring a professional with the necessary tools and expertise is advised to perform the job safely.
Step # 8: Final Air Flow Check
Finally, verify the airflow through the vent by turning on the dryer and feeling for a strong output outside. If the airflow is weak or missing, check for any clogs or disconnections that may have been missed.
How Often Should You Clean the Dryer Vent?
On the other hand, larger families that often use the clothes dryer will notice lint buildups more quickly. That’s how you can ensure the longevity and safety of your building’s features. Also, it saves your wallet from hefty repair bills.
We hope you enjoy the whole process and go smoothly. Good luck!




Leave a Reply