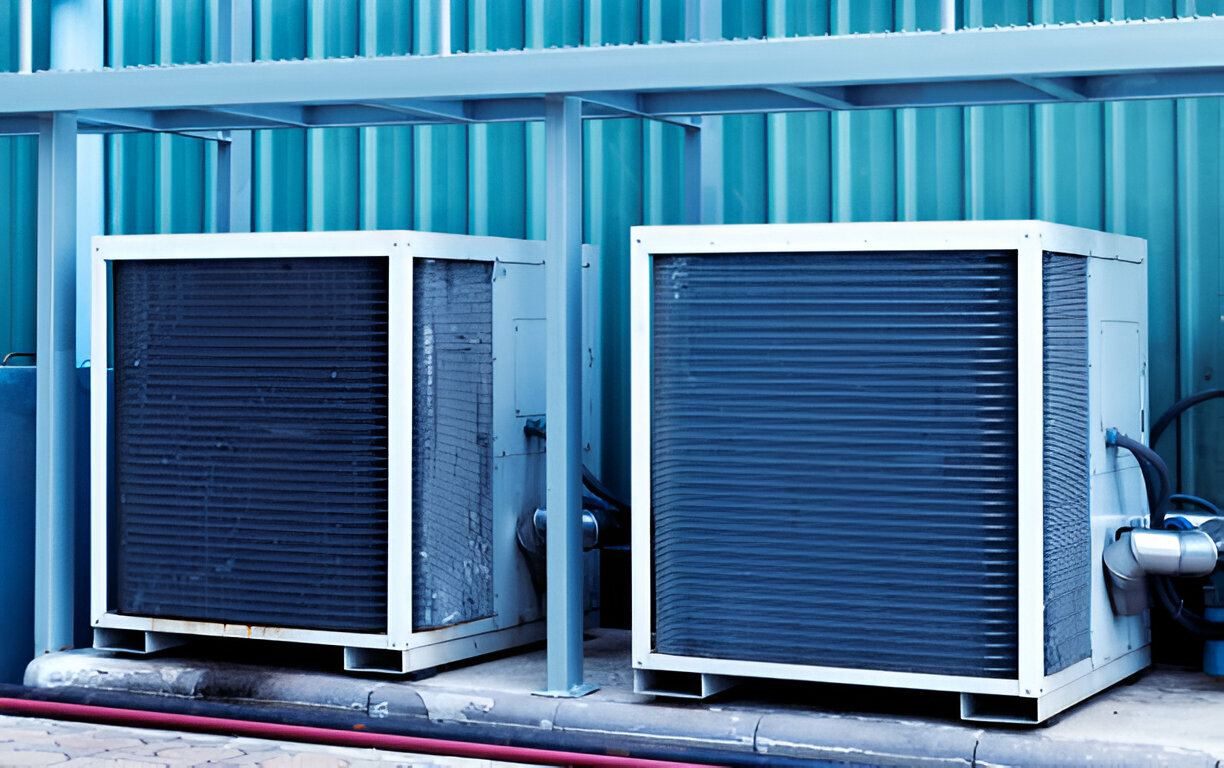
One critical component often overlooked is the evaporator coil—this part of your air conditioning system that processes the heat into cool air. Throughout the time, it can accumulate dust and dirt on the coil, leading to debris build-up and significantly hampering performance.
Tip: Keep track of your cleaning dates on your calendar. This schedule-wise checkup extends the lifespan of the unit.
Understanding the Causes of Blocked Air in Your AC Unit
A common issue in air conditioning systems is blocked air, which can significantly affect your home’s cooling performance. Often, this is due to a dirty evaporator coil. Dirt, debris, and other particles, such as pollen and dust, can accumulate, reducing airflow and higher operating pressures. These blockages hinder cooling times and can escalate heat levels within the system. That’s how it can risk component damage and system malfunction.
Sometimes, even damaged fins on the coil fins or the condensing coil can block airflow.
As a result, it causes coil icing and a loss of function in your AC unit. Air leaks in air ducts and a dirty blower fan in the air handler can exacerbate these problems. So, you must keep a check and avoid unnecessary strain on any components.
How To Clean The Evaporator Coil Without Removing It? – Process to Follow
Let’s dive into how you can keep this essential component clean without the hassle of removing it. From my experience, I’ve found that a simple visual inspection is a practical first step. It’s a straightforward process that doesn’t require dismantling your entire system.
Tools to get started 🪛:
- Soft brush – Used for gently removing loose dirt and debris from the coil.
- Coil cleaner – A specialized cleaner that helps dissolve stubborn dirt and build-up on the coils.
- Garden sprayer (for applying coil cleaner) – Useful for evenly distributing the cleaning solution across the coils.
- Fin comb – Helps straighten any bent coil fins, improving airflow and efficiency.
- Vacuum cleaner with a brush attachment – Used to remove dust and debris from the coil and surrounding area.
- Screwdriver – Can be 1/4″ or 5/16″ to remove access panels or guards.
- Safety glasses – Protect your eyes from debris and cleaning chemicals.
- Gloves – Protect your hands from sharp metal edges and cleaning solutions.
- Rags or paper towels – Useful for cleaning up any spills or residue.
- Flashlight – Helps you see in dark or tight areas around the HVAC system.
- Mirror (optional) – Can be used to inspect hard-to-see areas of the coil.
- Leak detector or soapy water solution (optional) – Useful for checking the system for leaks after cleaning.
7 Steps to Wash The Coil in Its Place
1. Gain Access to the Coils
First, you must ensure safety by turning off the power source to your air conditioning unit to avoid accidentally damaging the system. Since there are many types of coils, locate the access panel and undo the fasteners or unscrew the secure screws. Be careful that the screws don’t get lost or fall.
2. Brush Off Loose Debris
Use a soft nylon brush or a specialized bristle brush off the loose dirt and debris. You can also wipe up the hidden molds with a cloth. This is a crucial step to avoid bending the fins or damaging the delicate parts of your AC or furnace.
3. Vacuum Carefully
Attach your vacuum cleaner with a soft brush attachment and carefully vacuum the dust loosened by brushing. Ensure to use a low suction level to avoid damage.
4. Apply Cleaning Solution
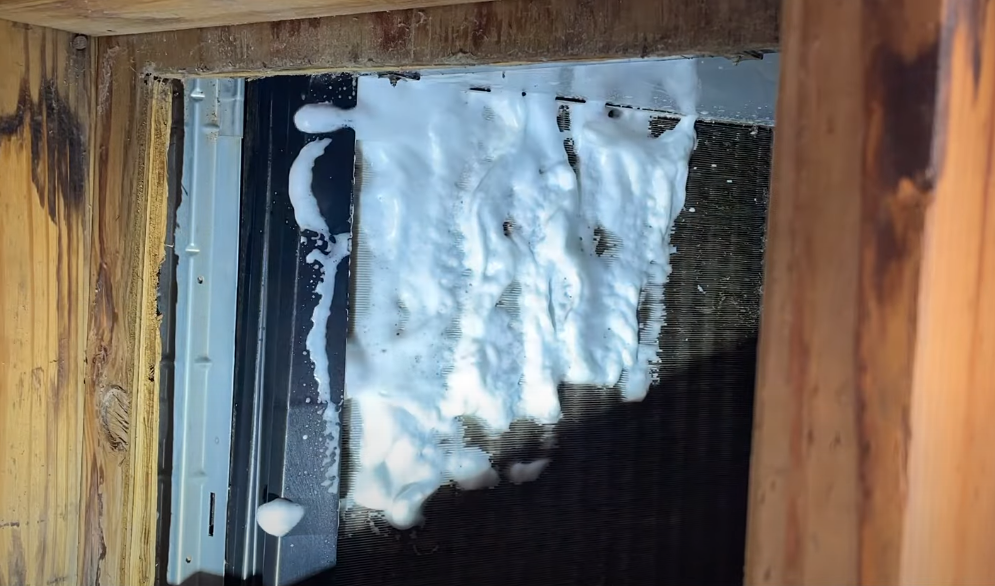
Fill a spray bottle with a mild detergent solution or use a commercial cleaner. Spray the evaporator coil, making sure to cover it evenly. Let it sit for a few minutes to help break down the grime.
5. Gently Wipe Off
After allowing the solution to settle, use a clean, lint-free cloth to wipe away the remaining dirt. This step is critical to ensuring the coils are thoroughly cleaned.
6. Rinse Thoroughly
Carefully rinse by spraying water over the coils and wipe down again. Be cautious not to wet electrical components.
7. Dry and Reassemble

Allow the coil to dry thoroughly using a soft, dry cloth to pat dry. Reassemble all panels and doors you removed and turn the system back on to test if it’s working correctly.
Regular Maintenance
Regular cleaning will improve the efficiency and extend the lifespan of your unit, saving you from costly repairs if you don’t have the time to clean on your own.
Don’t worry!
Call 📞 Ventiluxes for the whole service of your HVAC.
3 Benefits of Cleaning AC Coils
Why should you clean those AC coils, and what are their advantages? Let’s find out some of these:
1. Clean AC = Less Electricity Bills
When your air conditioner’s condenser coils become dirty, dusty, oxidized, or blocked with debris, the system works harder and uses more energy. Essentially, it struggles to achieve the desired degree of cooling. This not only costs your business potentially hundreds or even thousands of extra dollars in electricity each year.
Other than that, it also impacts the environment by increasing your carbon footprint. Thus, counterproductive dirt and oxidation ensure that your fins and coils are clean and circulate air more thoroughly. As a result, the AC reduces power consumption.
2. Lower Maintenance & Repair Cost
Consistent and correct maintenance using simple cleaning techniques can prolong the life of your AC units. Your system remains smooth-running by preventing the accumulation of dirt, dust, and other obstructions that can lead to clogs and affect performance. This cost savings is not trivial as a well-maintained AC doesn’t have to work overtime.
3. Increase the Lifespan of AC Units
Lastly, with regular checkups and cleaning, preferably yearly, your HVAC system typically has a lifespan of about 15 years. Yes, it can operate at its peak much longer. At the same time, it cuts down on costly expenses, headaches, and breakdowns in the long run.
FAQs
How Long Before I Can Turn My AC On Again?
After cleaning your evaporator coils, letting the system dry completely is crucial to prevent potential electrical issues. Let the panels off and wait 30 to 60 minutes till you turn on the AC.
What are the products professionals use to Clean AC Coils?
When it comes to professional cleaning, technicians typically use a coil cleaner, a soft bristle brush, and water—the same materials recommended for DIY cleaning. The critical difference is that professionals can remove the evaporator coil if necessary, leading to a more thorough cleaning.
How Frequently Should You Clean Your AC Coils?
Recommendations on the frequency of cleaning your AC coils can differ depending on several factors. You can perform a deep clean once a year. Have pets? Or if you live in a high-pollution area — it’s a wise choice to increase the frequency to twice a year.
| Time Frame | Task | Details |
|---|---|---|
| Monthly | Visual Inspection | Check coils for visible dirt. |
| Every 6 Months | Basic Cleaning | Clean coils with a soft brush or cloth. |
| Annually | Deep Cleaning | Thorough clean with coil cleaner; include drying. |
| As Needed | Professional Inspection and Cleaning | Professional cleaning if pets or high pollution. |


Leave a Reply