Often overlooked as a mere garden tool, an electric leaf blower has proven to be highly flexible and versatile. Initially, it was a tool to tackle garden debris, but it’s now utilized for various other jobs, including removing snow and threading pipes.
Today, I want to share a unique and practical application: using your leaf blower to clean your clothes dryer vents. This method is unconventional and surprisingly effective, making it a typical use for this tool beyond its intended purpose. It’s a great way to blast away lint that builds up in vents, ensuring your dryer operates safely and efficiently.
- Big Question: Can You Use A Leaf Blower To Clean A Dryer Vent?
- What is Lint in Vent Air Dryers?
- Why Do You Require to Get Rid of Lint From a Clothes Dryer Vent?
- How to Clean a Dryer Air Vent With a Leaf Blower? – Actual Process
- Situations When Using a Leaf Blower Might Not Be Effective!
- Things You Should Be Aware Of ⚠️
Big Question: Can You Use A Leaf Blower To Clean A Dryer Vent?
Before cleaning the dryer vent, here’s what you should know!
Every year, 15,970 clothes dryers cause house fires, according to the US Fire Administration, and cost more than $200 million in property damages. These fires can lead to devastating outcomes, including deaths, injuries, and significant property losses for homeowners. Most of these fires are caused by not adequately cleaning the dryer vent.
While a leaf blower can effectively blast away lint that has accumulated in the vents, there are cases where it might not be the best option. Proper assessment and understanding of when and how to clean your dryer vents can help you decide if this approach works for you.
What is Lint in Vent Air Dryers?

Lint is made up of tiny fibers that are released from your clothes during the washing and drying process. These fibers, along with dust, soap scum, and loose threads, can build up in your dryer vent. This accumulation originates mainly from the friction of the washing procedure, where it remains stuck primarily to your garments when wet.
As these garments undergo drying in your dryer, the hot air and moisture help solidify these contaminants, leading to a dangerous build-up that can cause clogs in your dryer system.
Furthermore, it’s essential to comprehend that while clothes dryers have special lint screens designed to catch as much lint as possible, not all lint is captured. Over time, the lint that escapes these screens gets trapped in the vent. If not cleaned regularly, this lint can lead to dangerous clogs that impair the efficiency of your dryer and pose a fire risk.
Therefore, learning how to get rid of lint effectively from a clogged dryer vent is crucial for the safety and maintenance of your appliance.
Why Do You Require to Get Rid of Lint From a Clothes Dryer Vent?
Removing lint from your clothes dryer is crucial, not only to improve airflow and performance but also to prevent serious hazards. A build-up of lint can reduce the efficiency of your dryer, leading to decreased drying capacity and higher energy costs.
Moreover, lint in the air vent can develop into mold and mildew, affecting your house walls and insulation. Most importantly, lint is highly flammable; failing to remove it regularly can turn your dryer into a significant fire hazard.
Thus, it’s believed that many residence fires in the United States are caused annually by dust igniting. To prevent these risks, cleaning the lint trap in your dryer and removing lint accumulation from the dryer’s air duct at least once a year is essential.
How to Clean a Dryer Air Vent With a Leaf Blower? – Actual Process
Let’s take a look at how this is done now.
Step 1: Gain Access to the Dryer Vent
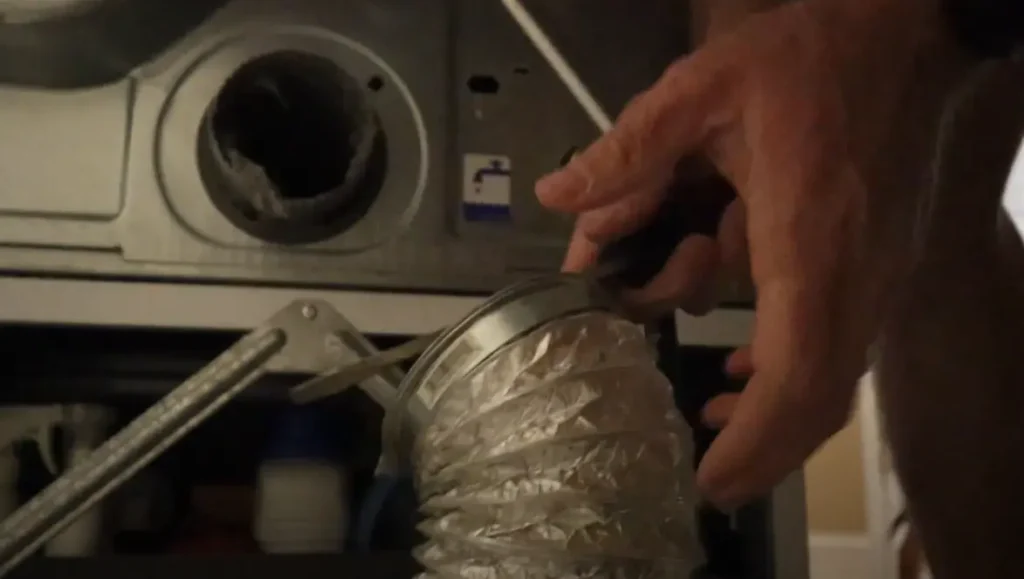
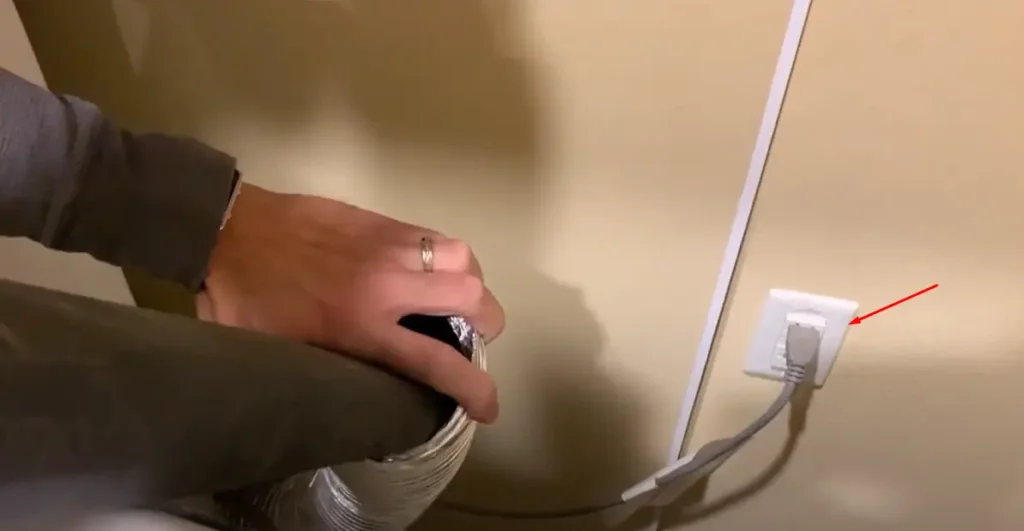
First, access your dryer vent by dragging the clothes dryer away from the wall. This allows you to work behind the appliance. Remove the hose from the air vent, which may require some tools to unscrew it if tightly fitted.
Step 2: Remove the Exterior Cover
Remove the cover outside the air vent to ensure the air can escape freely from the building. This step prevents building up too much pressure in the vent, which could damage the flappers and the leaf blower.
Step 3: Clean the Outside Part
After removing the cover, take the opportunity to clean the outside part of the vent. Using a vacuum cleaner or brush cleaner, remove the dust and debris that have built up around the cover.
Step 4: Insert the Leaf Blower and Create a Tight Seal

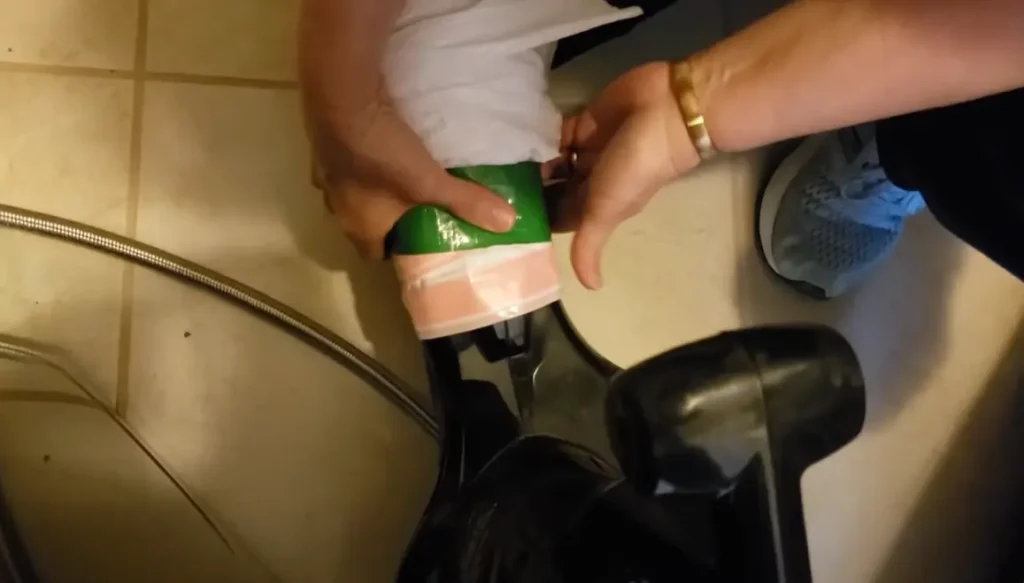
With the external part cleaned, head back inside and put the leaf blower into the dryer’s air vent. It’s crucial to create a seal around the vent using duct tape. This ensures no air escapes, maximizing the leaf blower’s effectiveness.
Step 5: Turn the Leaf Blower On
Now, turn the leaf blower on and give it a short blast. Repeat this several times. If all seems well, let it run for about 30 seconds. This should effectively blast all the dust and lint out of the exterior air vent.
Step 6: Review the Outside Vent and Clean

After blasting, check the outside vent to ensure all the dust has been removed. You may need to clean around the external vent once more if any residual debris is found.
Step 7: Screw Back in Place
Finally, once the vent is cleared, remove the leaf blower and reattach everything. Put all components back into place, ensuring the clothes dryer is connected correctly to the vent, and screw the outside cover back on securely.
Situations When Using a Leaf Blower Might Not Be Effective!
- Lengthy Vents: If your dryer vent stretches out considerably, the blower might need more power to push the lint through. Long vents reduce the effectiveness, limiting the blower’s reach to just a few feet.
- Complex Pathways: Often, vents will twist and turn through your home’s infrastructure. These multiple twists and turns can trap lint at various angles and corners, making it hard for the blower to clear them effectively.
- External Screens: Many vents have a mesh screen on the outside opening to keep out critters and debris. However, this screen can also prevent lint from being expelled, causing it to accumulate at the exit.
- Flexible Ducting: If your vent uses accordion-flex ducting, the lint tends to gather in the folds of the material. Standard blowers aren’t powerful enough to dislodge lint from these creases, often leaving the deeper sections uncleared.
- Insufficient Air Pressure: The standard leaf blower may not generate enough air pressure to dislodge and expel lint from more extended or convoluted vent systems.
| Leaf Blower Type | Air Pressure (CFM) | Air Pressure (Newtons) | Dryer Vent Cleaning (Scale) | Ideal For |
|---|---|---|---|---|
| Electric Leaf Blower | 200-300 CFM | 8-10 | Low to Moderate | Suitable for short, simple vent systems. |
| Cordless Leaf Blower | 300-400 CFM | 10-12 | Moderate | Good for moderate-length vents but struggles with bends. |
| Gas Leaf Blower | 400-700 CFM | 15-20 | High | Effective for longer vents with multiple twists and turns. |
| Backpack Leaf Blower | 500-700 CFM | 20-25 | Very High | Best for very long and complex vent systems. |
Things You Should Be Aware Of ⚠️
When you use a leaf blower to clean your dryer vent, it’s essential to be careful. Make sure the blower isn’t set too powerful, as too much force could break the venting system. Also, always check the vent and its connections before and after cleaning to ensure everything looks good.


Leave a Reply